

Steel Purlin Factory Quality Indicators for Durable Metal Buildings
2026-11-02
What if the weakest link in your metal building isn't the main frame, but the purlins holding it together? Most builders overlook these critical members until problems appear. That's why checking a steel purlin factory's quality indicators before you buy can save years of costly repairs. From gauge tolerance to zinc coating weight, the details matter more than price tags. And when it comes to consistent, durable output, LANYUN makes those indicators easy to verify. Keep reading to see which checks actually predict long-term performance.
The Gap Between Mill Certificates and the Steel on Your Rack
Mill certificates travel with a heat number, but the bars, plates, or coils sitting on your rack have been through cutting, storage, and handling. A certificate describes what left the mill, not necessarily what ended up in your inventory. Once the original bundle is broken, the paper trail can thin out fast.
Labels get scraped off, ends get mixed in the drop rack, and remnants from different heats end up side by side. Even when the alloy and temper match on paper, the actual piece may have surface scale, edge damage, or a different coating than the certificate suggests. The gap is not about dishonesty; it is about physical reality after the mill's control ends.
Closing that gap takes more than filing certificates. It means marking every rem, verifying heat numbers before cutting, and treating traceability as a shop floor habit rather than a clerical afterthought.
Why a Two-Millimeter Flange Drift Can Open Up a Roof
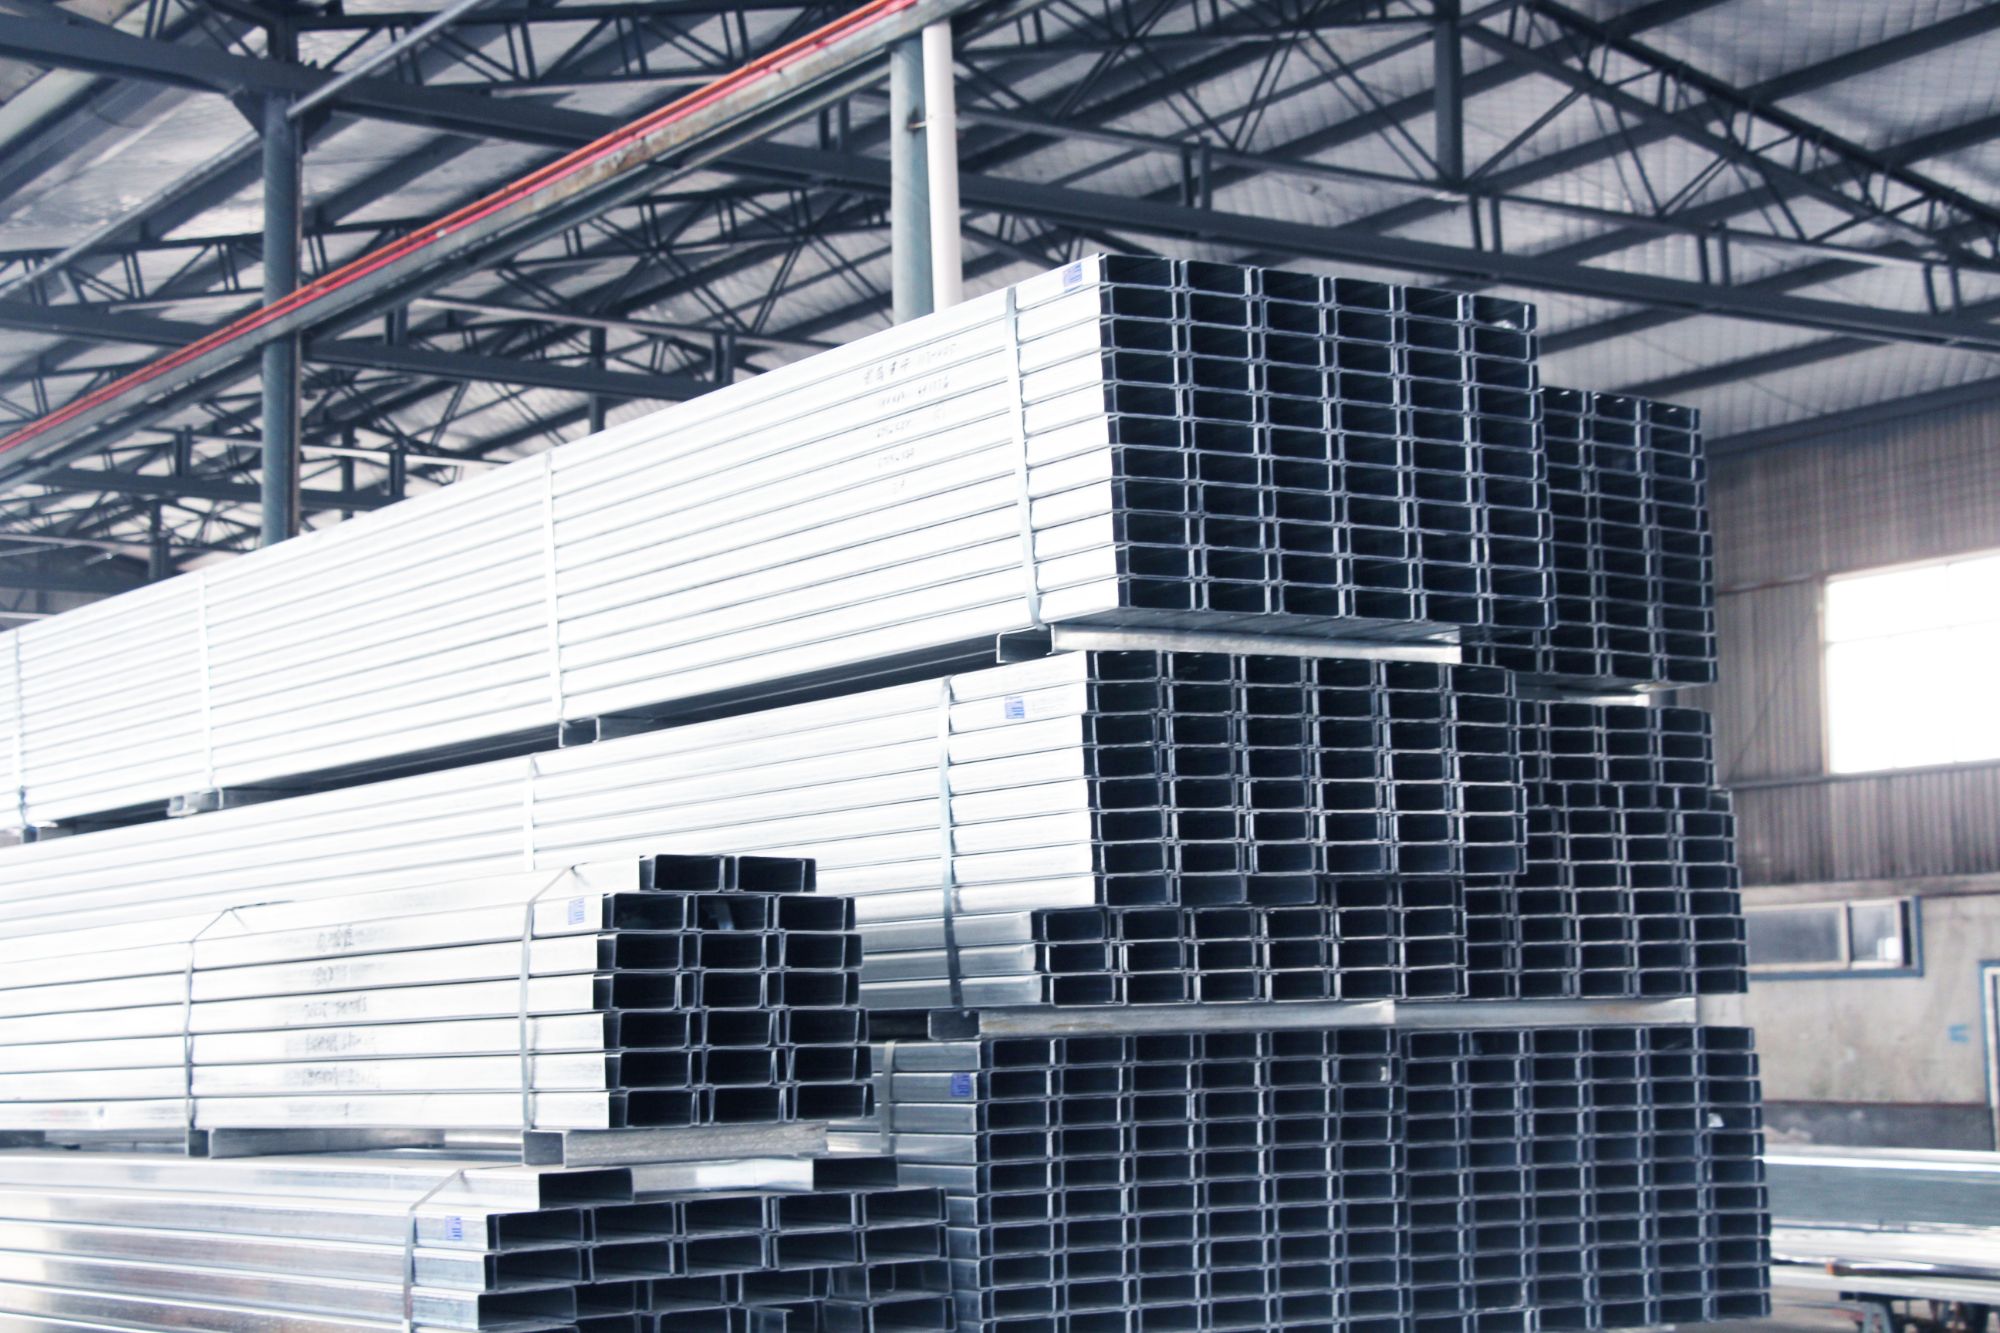
Most roof failures don't start with a dramatic crack or a sudden collapse. They begin with something almost invisible: a two-millimeter drift in a flange connection. Over time, that tiny misalignment changes how load travels through the purlins and rafters, concentrating stress at a single bolt hole or weld point that was never designed to carry it alone.
Thermal cycling and wind vibration keep working on that small gap, gradually loosening fasteners and widening the drift. Once the connection loses its original clamping force, the roof panel above can start lifting at the edges, letting moisture in and accelerating corrosion. What began as a minor manufacturing tolerance becomes a hinge point for uplift forces during a storm.
The real danger is that inspections rarely catch it early. A two-millimeter offset looks like normal wear, and by the time it's visible from the ground, the roof deck may already be compromised. That's why engineers now specify drift checks as part of routine maintenance, especially on long-span metal roofs where small angular changes multiply into large vertical displacements.
Coating Checks That Go Beyond a Quick Magnet Reading
A quick swipe with a magnet tells you whether a coating contains iron or nickel, but it won't reveal how well the coating actually adheres to the substrate. Many inspectors stop at that simple yes/no result and miss early signs of delamination, micro-cracking, or uneven film build. If you want to avoid costly rework later, you need to look beyond the magnet's tug.
One practical upgrade is to use a dry film thickness gauge that measures the actual coating depth at multiple points across the surface. Pair that with a cross-hatch adhesion test on a sample panel, and you'll quickly see whether the coating pulls away cleanly or leaves ragged edges—an early indicator of poor surface preparation. A low-power magnifying lens or borescope can also catch pinholes, craters, and edge pull-back that a magnet would never register.
For coatings expected to survive harsh environments, a simple salt spray or humidity cabinet test can expose weaknesses in barrier protection within days. You don't need a full lab setup—even a controlled soak in warm saltwater followed by a close visual inspection will tell you more about long-term performance than any magnetic reading. These checks take extra time, but they separate coatings that merely look intact from those that will actually hold up.
Punch Alignment as the Hidden Variable in Bolt-Up Speed
Ask any pipefitter what slows down a flange make-up and you'll hear about torque wrenches, gasket seating, or stubborn studs. Rarely does anyone mention the way the impact socket or slugging wrench meets the nut. Yet that point of contact—whether the punch axis sits dead square on the fastener—quietly dictates how many hammer blows or ugga-duggas actually turn the nut instead of bouncing off it. A slight angular mismatch wastes energy, rounds corners, and forces the crew into repeated repositioning that never shows up on a bolt-up procedure sheet.
The problem compounds on multi-bolt patterns. Once a few nuts are snugged, the flange shifts microscopically and the remaining studs no longer line up true to the tool's driving axis. An operator fighting a misaligned punch tends to lean into the tool, over-grip, or swing at an angle, all of which reduce effective torque transfer. The result isn't a dramatic failure—just a creeping slowdown that turns a forty-second bolt cycle into a two-minute wrestling match. Worse, the torque readings become unreliable because side loading on the fastener mimics higher friction, so the crew either under-tightens or chases a number that keeps moving.
Correcting alignment doesn't require new tooling. A simple visual check that the socket's hex is seated fully and the drive extension runs parallel to the stud axis can cut seconds per bolt. On larger vessels, using a short guide sleeve or resting the tool on a steady block before pulling the trigger prevents the initial kick that yanks the punch off-center. When every joint on a critical path gets a straight, square drive, the saved minutes stack up faster than any impact wrench upgrade—because the hidden variable isn't the power, it's where that power is allowed to go.
Reading the Run Chart Before You Read the Spec Sheet
Most people reach for the spec sheet the moment a new piece of equipment lands on the dock. But the operators who actually keep things running will tell you to look at the run chart first. It shows how the process behaves over time — the wobbles, the drifts, the sudden spikes that never appear in a glossy product brochure. That's the real fingerprint of your system.
A spec sheet gives you a snapshot under controlled conditions: one temperature, one operator, one batch. The run chart reveals what happens on a Tuesday night when the humidity changes or the third shift takes over. Reading it first trains your eye to spot patterns before you get anchored by the manufacturer's numbers. You start asking better questions, like “why does the output sag every forty minutes?” instead of “does this meet the tolerance?”
Consider a pump that's rated for a steady flow of 12 gallons per minute. The spec sheet says it's perfect. The run chart, though, shows a sawtooth pattern where the flow dips by 8% every hour before recovering. That's not in the manual — it's cavitation, or a clogged inlet, or a voltage sag. If you'd read the spec sheet first, you'd have missed the story the data was already telling you.
What a Loaded Purlin Reveals Under Test Before It Ships
A purlin that carries its working load before it leaves the yard is no longer an abstract calculation. When the test rig applies pressure along the span, the first thing that shows up is how the section twists. Light-gauge purlins often rotate slightly under uneven loading, and unless the test setup restrains the flanges the way they would be in a real roof, the numbers can look worse than they are. Watching that twist in real time tells you whether the profile needs lips, stiffeners, or just a different connection detail.
Deflection gets checked against the span limit, but the more useful data comes from recovery. After the load is removed, a well-formed purlin should spring back to within a couple millimeters of its original line. If it doesn't, there's residual stress in the cold-formed corners or a weld sequence that pulled the section out of true. Those are the kind of flaws that won't stop a shipment by themselves but will show up later as sagging roof lines or cracked fixings.
Load testing before shipping also catches batch-level problems that mill certificates miss. A coil of steel can meet the specified yield strength on paper and still behave oddly once it's roll-formed into a Z or C shape. Running a handful of purlins from each production run through a full load cycle, including an overload check near the permitted stress, gives the fabricator a chance to quarantine a bad batch before it becomes someone else's site headache.
FAQ
You want to look for tighter dimensional tolerances, documented material traceability, and a clear in-house testing routine. A plant that regularly checks coil thickness, yield strength, and coating adhesion before production starts is already ahead of many suppliers.
Coating weight and base steel grade are the big ones. A G90 or Z275 galvanized coating holds up better against moisture than lighter coatings, while high-strength steel like G450 or S450GD lets the purlin carry more load without adding thickness.
If the factory buys from mills with full mill test reports and keeps batch numbers linked to finished purlins, you can trace any issue back to the coil. This matters because inconsistent steel chemistry or zinc coating from unknown sources often leads to early corrosion or premature bending failure.
For most standard C and Z purlins, length should stay within plus or minus 3 mm, hole placement within 1.5 mm, and web or flange dimensions within 2 mm. Anything looser than that can cause misaligned connections and slower erection on site.
The issue is usually process control. Dip time, bath temperature, and pre-cleaning all affect adhesion. A good factory checks coating thickness at multiple points along the purlin, not just at the ends, and rejects pieces with bare spots or heavy dross.
Yes, because hole edges tell you a lot about tooling maintenance. Clean, round holes with minimal burr mean the punch and die are being replaced on schedule. Ragged or oversized holes often lead to fastener slip and reduced connection strength.
Ask for recent third-party inspection reports, especially for coating mass and dimensional checks. You can also request a small trial batch and have it tested independently. A factory that hesitates on either request probably has gaps in its process.
Conclusion
A mill certificate looks reassuring until you measure the steel sitting on your own rack. In a well-run purlin factory, the first quality indicator is not the paper but the physical match between certified chemistry and the coil actually fed into the roll former. A two-millimeter flange drift may sound trivial, yet across a roof run it stacks into edge misalignment, fastener strain, and visible waves that no trim can hide. So daily profile checks with fixed gauges matter more than occasional sample testing. Coatings demand the same skepticism: a quick magnet only proves steel is present, not that zinc or paint thickness, adhesion, and edge coverage will survive years of condensation and cut-edge exposure.
Punch alignment rarely appears on a spec sheet, but it controls how fast a crew can bolt up in the field. Holes that are even slightly off square force reaming, angled bolts, and slowed erection, which turns a cheap purlin into an expensive labor line item. A factory that tracks punch positions with run charts can catch drift before it leaves the line; a factory that waits for a customer complaint cannot. Finally, the loaded purlin test tells the truth before shipping: a sample placed under controlled load reveals real deflection, web crippling, and failure behavior rather than theoretical numbers. Together these checks form a different kind of indicator—one that predicts how the building will behave, not just what the paperwork says.
Contact Us
Contact Person: Nia
Email: [email protected]
Tel/WhatsApp: +86 18954360337
Website: https://www.sdppgi.com