

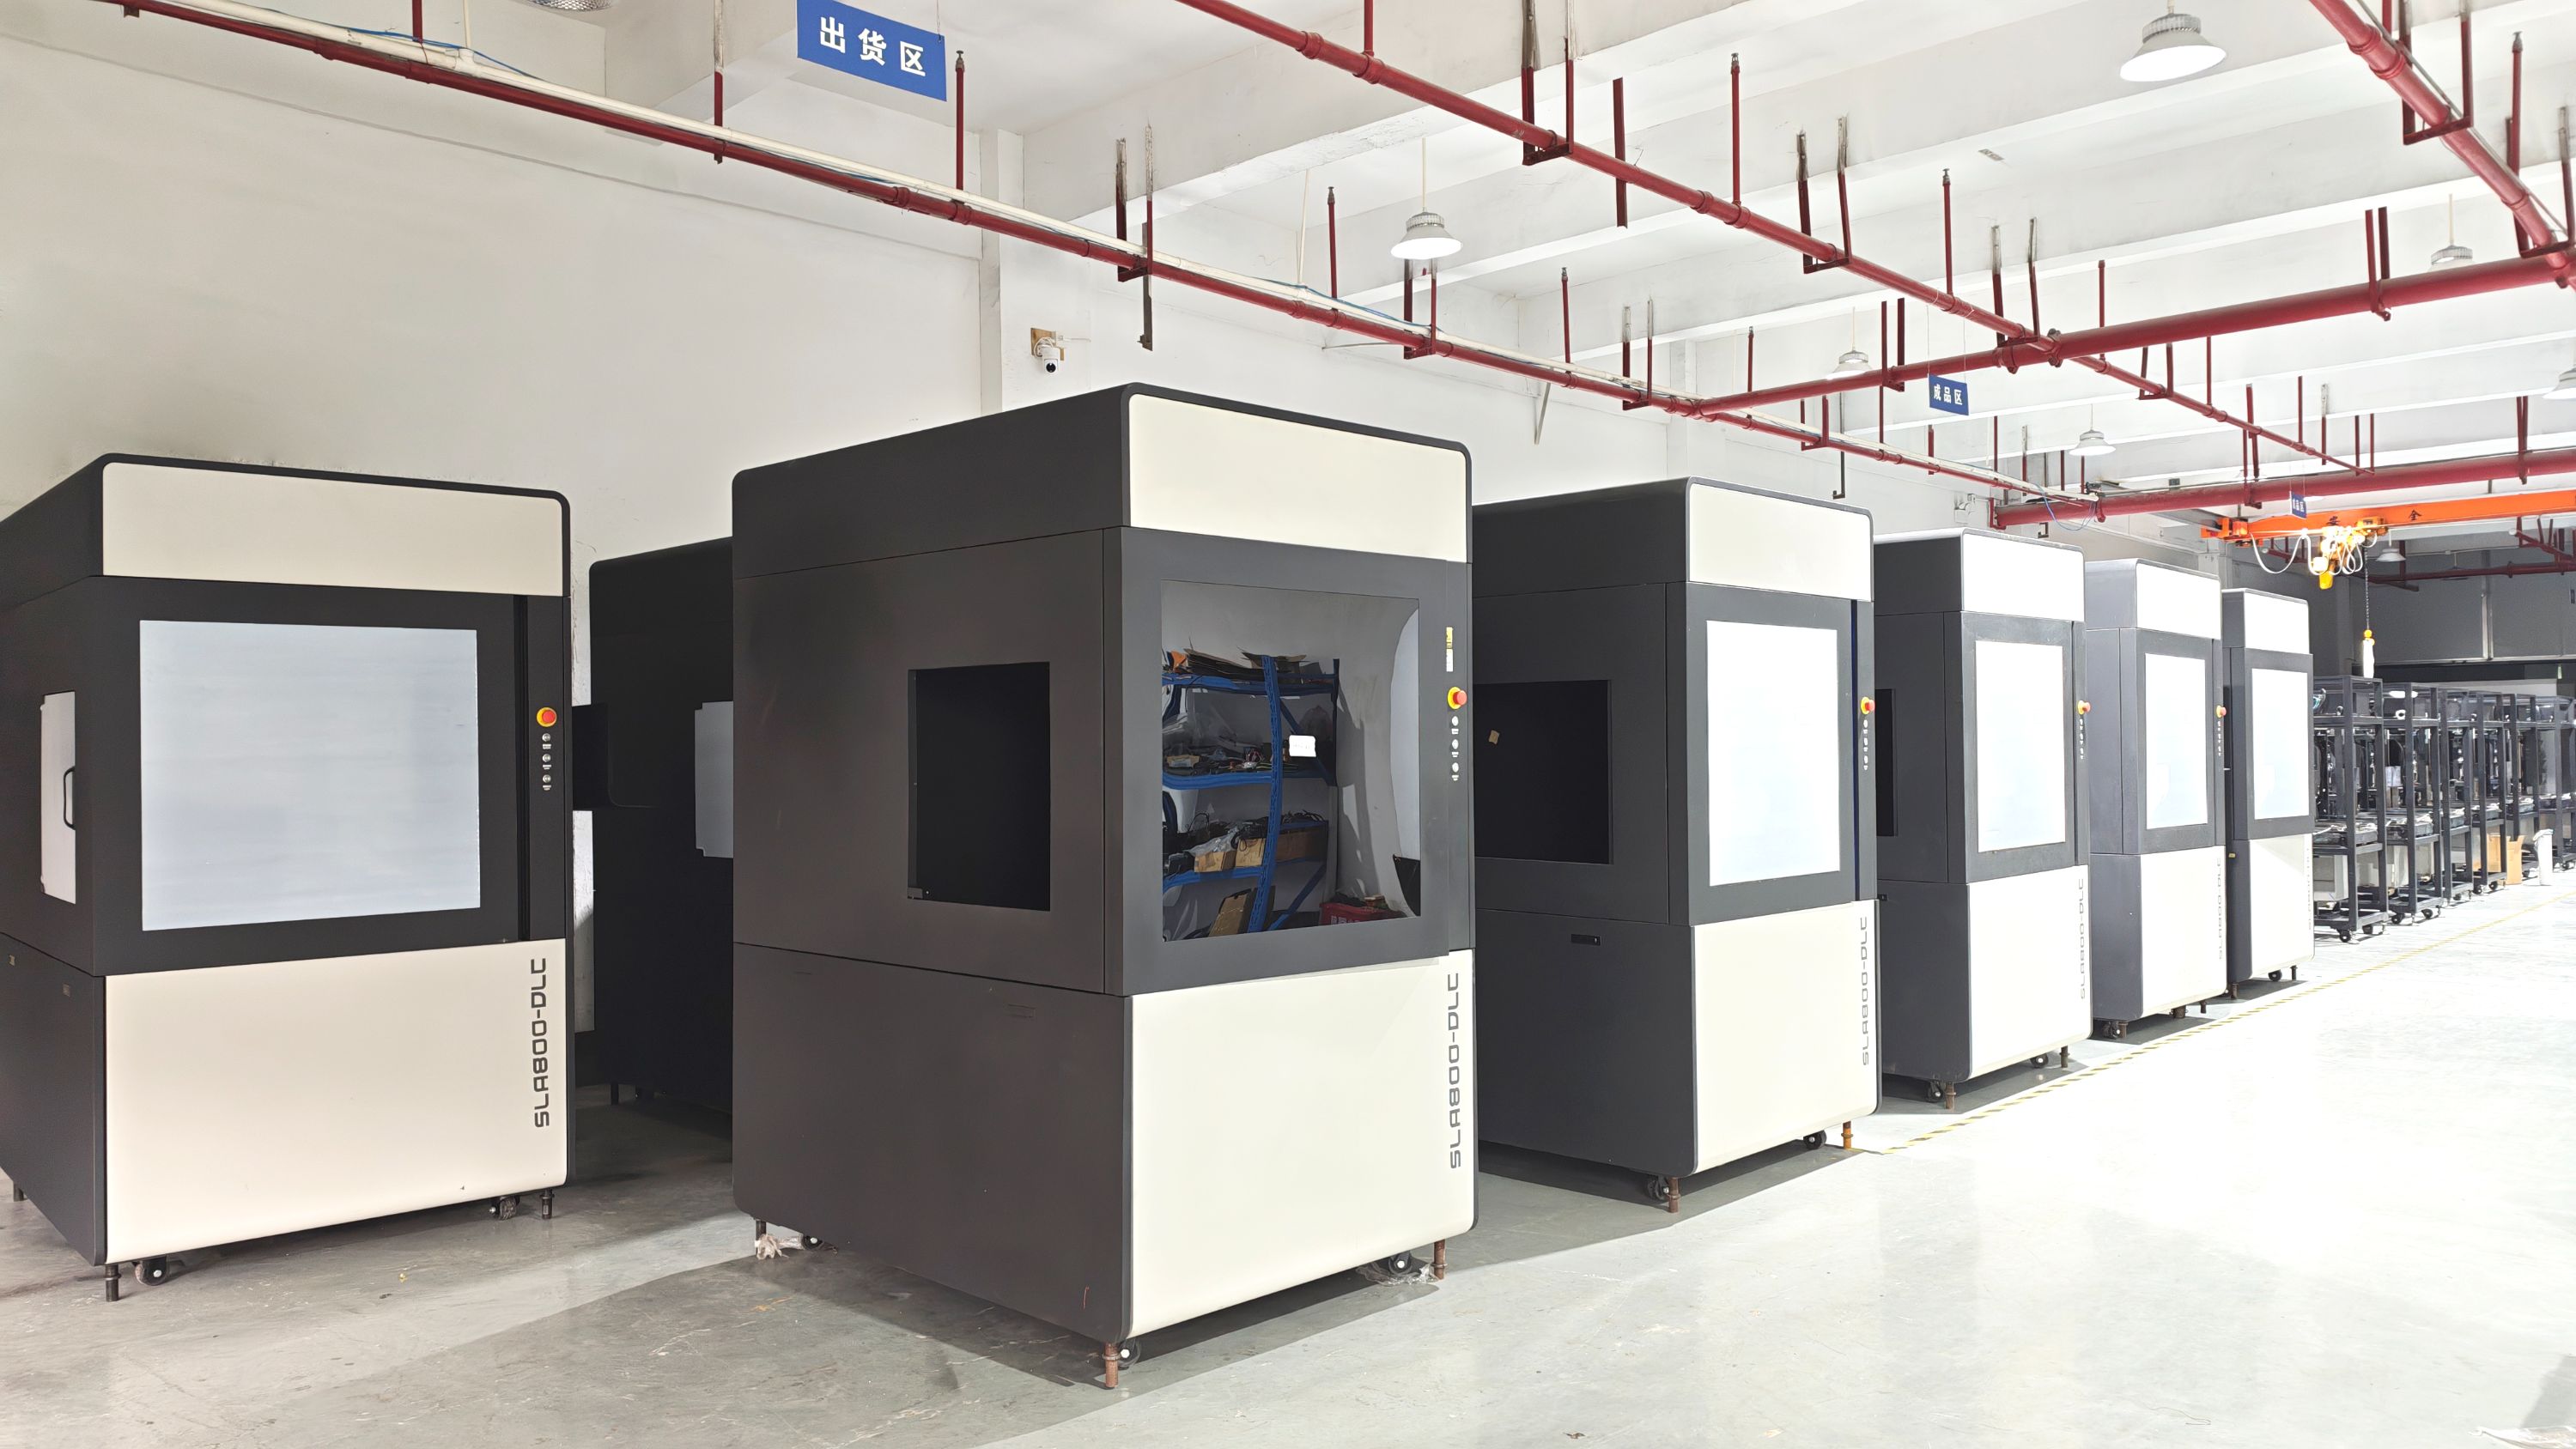
Top SLA 3D Printer Manufacturer Unveils Guide to Flawless High-Resolution Prints
2026-05-25
Achieving flawless high-resolution 3D prints is the holy grail for makers and professionals alike, yet even minor imperfections can ruin a project. As a top SLA 3D printer manufacturer, ProtoMat has just released an in-depth guide that demystifies the process, promising to eliminate guesswork and elevate print quality to new heights. Whether you're battling layer lines or chasing micron-level precision, this reveal might be the game-changer you've been waiting for.
Why resin choice matters more than you think
Most people fixate on the fiber when they think about composite performance, but resin is the quiet partner that holds everything together. A poor resin choice can undermine even the most advanced reinforcement, leading to delamination, microcracking, or a heavy structure that defeats the purpose of going composite in the first place.
It’s not just about strength on a data sheet either. Resin determines how a part handles thermal swings, moisture, and chemical exposure over the years. Pick the wrong chemistry and you might find your lightweight marvel warping after a few hot summers or becoming brittle in cold snaps.
Then there’s the manufacturing side: some resins flow beautifully but cure too fast, others give you ages of pot life but won’t wet out dry spots. The sweet spot depends on your process and part geometry, and guessing here can cost you more than just a few scrapped runs.
Dialing in layer heights without guesswork
Layer height is arguably the most impactful setting you can tweak on an FDM printer, yet many users treat it as a mysterious dial they’re afraid to touch. It’s not about blindly punching in numbers from a preset list—once you understand how your printer’s mechanical resolution and nozzle geometry interact, you can predict exactly how a given layer height will affect print time, surface finish, and interlayer adhesion. Start by calculating your optimal range: take your nozzle diameter and multiply by 0.25 to find the absolute minimum before extrusion consistency breaks down, and by 0.75 to set a sane upper limit before overhangs and details suffer. This gives you a numerical playground, not guesswork.
The real trick is matching that mathematical range to the physical pitch of your Z-axis. Most common printers use 8mm lead screws with a 2mm pitch, paired with 200-step motors and 16x microstepping, yielding 400 steps per millimeter—meaning each full step moves the gantry 0.04mm. When you choose a layer height, make sure it’s a clean multiple of that magic number (0.04, 0.08, 0.12, 0.16, 0.20, 0.24, 0.28, 0.32) to avoid Z-wobble artifacts. If your firmware supports UBL or mesh leveling, you can even experiment with dynamic layer heights that shift mid-print, but only if the transitions align with the mechanical resolution; otherwise you’re just programming in tiny layer shifts that the hardware can’t faithfully reproduce.
Temperature and cooling play an understated role here, too. Thinner layers need less heat because the nozzle dwells closer to the previous layer, re-melting it slightly for better bonding, but they also require more aggressive part cooling since the molten plastic has less mass and stays fluid longer. Conversely, thick layers carry enough thermal inertia that you can back off the fan and raise the nozzle temperature by 5–10°C to ensure proper adhesion without sagging. Run a simple test tower that changes layer heights every 10mm, and inspect the surface finish with a backlight—you’ll quickly see whether your chosen numbers are producing consistent extrusion or subtly varying bulges. That empirical check, combined with the math, removes all guesswork and turns layer height into a precise tool rather than a confusing slider.
Support structures that leave no trace
When setting up any temporary support in the wild, the goal is to leave the site exactly as you found it. This means choosing anchor points that don’t scar living trees or disturb fragile soil. Instead of hammering pitons or driving stakes into exposed rock, look for natural friction holds, or use dead-and-down wood that blends seamlessly with the surroundings. Every point of contact should be reversible—think of it as a silent agreement with the landscape that your presence was just a passing thought.
Materials matter just as much as technique. Swap synthetic cords for natural-fiber ropes that decompose without a trace if a fragment is lost. If you must use metal hardware, opt for dull, earth-toned finishes that don’t catch the light or the eye of the next traveler. When it’s time to dismantle, fluff up any compressed duff, scatter displaced leaves, and pause to check your work from a distance. A well-built support structure isn’t the one that holds firm—it’s the one you can’t remember installing five minutes after it’s gone.
The overlooked role of build plate preparation
Build plate preparation quietly determines whether your print succeeds or fails, yet remains a step many treat as an afterthought. A perfectly leveled bed isn't just a checklist item—it's the foundation that governs first-layer adhesion, dimensional accuracy, and the freedom to walk away from a running printer without anxiety. Skipping proper cleaning or ignoring surface wear patterns leads to warping, elephant's foot, or complete detachment that no amount of tuning can fix mid-print.
The surface you choose and how you treat it shapes more than just adhesion. Glass, PEI, textured sheets—each demands its own ritual. A light sanding on PEI, a scrupulous wipe with isopropyl alcohol, or the counterintuitive trick of using a thin glue stick layer on glass all stem from hands-on failure rather than manual instructions. Temperature and humidity play silent partners here: a cold plate in a drafty room pulls filament unevenly, while a warm plate in a steamy enclosure can make PETG bond too aggressively, risking chunks torn from the build surface.
Even seasoned users underestimate how preparation habits compound over time. Those invisible residues from fingers, previous prints, or ambient dust build a microscopic film that defeats prints gradually, making troubleshooting a guessing game. A routine that respects the plate as an active component—not just a platform—prevents this drift. In the end, the quiet discipline of wipe, measure, and test is what separates a frustrating hobby from repeatable craftsmanship.
Curing and cleaning methods pros avoid
Many homeowners reach for vinegar as a natural cure-all, but experienced pros know it can wreak havoc on stone surfaces, grout, and certain finishes. The mild acid slowly eats away at sealants and dulls the shine of marble or granite, leading to etching that’s nearly impossible to reverse without professional restoration. Instead, they stick to pH-neutral cleaners specifically formulated for delicate materials to preserve both appearance and durability.
Another common mistake is aggressively scrubbing fresh stains or using harsh abrasives on cured surfaces. Professionals avoid steel wool and powdered cleansers on fixtures and appliances because micro-scratches trap dirt and bacteria over time, making surfaces harder to maintain. They also steer clear of excessive water during the curing process of new concrete or grout, as it can weaken the bond and cause cracking down the line. Gentle, methodical techniques with the right tools always outperform quick, abrasive fixes.
Long-term printer habits for repeatable detail
Developing a keen eye for consistent output starts with routine nozzle checks and timely cleaning cycles. Rather than waiting for visible banding or color shifts, incorporate a quick test print into your weekly workflow—this tiny discipline prevents subtle drifts from becoming stubborn artifacts.
Equally important is the way you handle filament and ambient conditions. Spools stored in airtight containers with fresh desiccant, combined with a stable room temperature, keep material properties uniform from one print to the next. A sudden change in humidity can alter extrusion behavior more than most slicer tweaks can compensate for.
Finally, treat firmware updates and mechanical maintenance as part of the creative process, not an interruption. Lubricating linear rods, tensioning belts on a fixed schedule, and noting down any micro-adjustments in a logbook turns your machine into a reliable partner. Over months, these small acts compound into the ability to reproduce delicate details with almost boring predictability—the hallmark of a truly mastered craft.
FAQ
SLA uses a laser to cure liquid resin layer by layer, which gives it much smoother surfaces and sharper edges compared to filament-based printers. Because it doesn't involve melting plastic through a nozzle, the resolution can go down to micron-level precision, making it ideal for intricate miniatures or jewelry prototypes.
A lot hinges on proper resin temperature and leveling the build plate meticulously. Keeping the resin at a steady warm temperature, usually around 25-30°C, helps with consistent curing. Also, never skip the calibration step—even a tiny tilt can throw off an entire print.
Insufficient supports are the silent killer. People often try to minimize them to save resin, but thin, poorly placed supports lead to warping or parts detaching halfway through. It's better to use a few extra well-anchored supports than to reprint the whole model.
Run a quick validation matrix or tile—a small test print that shows how fine details, text, and overhangs behave at different exposure times. If the letters blur together or small gaps close up, you’re over-curing; if details are mushy or supports fail, you’re likely under-curing.
That tacky surface usually means the part wasn’t cleaned properly. A two-stage wash using isopropyl alcohol—first a dirty wash to knock off bulk resin, then a clean bath—makes a world of difference. Also, curing under UV for the right duration ensures the surface fully hardens.
Absolutely. Standard resins are fine for general use, but for truly crisp details you’ll want a high-definition or engineering resin with low shrinkage. Some resins are formulated to capture hair-thin features without blooming, which standard ones might lose.
Conclusion
Achieving truly flawless high-resolution prints isn't just about having a top-tier SLA printer—it's about mastering the often subtle details that separate stunning results from mediocre ones. At the core lies resin selection, a decision far more critical than most realize. Different formulations influence not only surface finish and detail crispness but also how a model withstands post-processing. Pair this with precise layer height calibration, moving away from guesswork and toward a systematic approach that accounts for the resin's specific properties, and you eliminate common pitfalls like inconsistent layers or unexpected failures. Meanwhile, the art of support structures demands a delicate touch; the goal is to design supports that anchor securely yet peel away without a scar, preserving every intricate feature.
Beyond the print itself, build plate preparation often gets overlooked despite being the foundation of repeatable success. A meticulously leveled and treated plate prevents warping and detachment, saving hours of frustration. Post-print, seasoned users steer clear of rushed curing and cleaning shortcuts. Instead, they adopt methods that ensure thorough, even exposure without degrading fine details. Developing long-term habits—like regular vat cleaning, resin storage discipline, and environmental control—further locks in repeatability. This manufacturer's guide distills all these insights, offering a practical pathway to prints that consistently capture the highest possible resolution without the trial-and-error.
Contact Us
Contact Person: Joe
Email: [email protected]
Tel/WhatsApp: +8613799507208
Website: https://www.3dprotomat.com/