
A Step-by-Step Guide to Installing the Atrium Aluminum Waterproof Pergola
2024-06-15
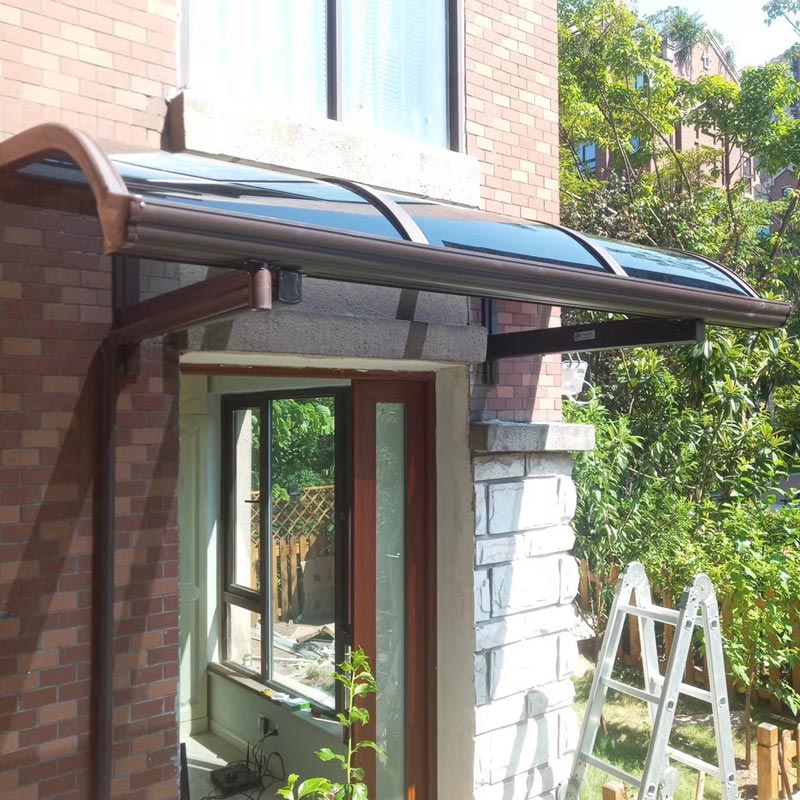
When considering an outdoor living space, the Atrium Aluminum Waterproof Pergola offers a stylish and practical solution. Its waterproof design ensures that you can enjoy your pergola regardless of the weather, but how do you install it? Here's a step-by-step guide to installing the Atrium Aluminum Waterproof Pergola.
Step 1: Prepare the Area
Before you begin the installation, it's essential to prepare the area where the pergola will be installed. Clear any debris or obstructions from the ground and make sure it's level. Measure the space to ensure that the pergola you've chosen will fit.
Step 2: Assemble the Posts
The first step in the installation process is to assemble the pergola's posts. Depending on the size and design of your pergola, there may be two, four, or more posts. Follow the instructions provided with your pergola to assemble the posts, ensuring that all the parts are securely fitted.
Step 3: Install the Posts
Once the posts are assembled, you'll need to install them in the ground. This can be done using concrete footings or by burying the posts directly in the soil. If you're using concrete footings, dig holes for each post, pour the concrete, and then insert the posts into the wet concrete. Ensure that the posts are plumb and level before allowing the concrete to set.
Step 4: Attach the Beams
After the posts are installed, you can begin attaching the beams that form the pergola's frame. The beams will connect the posts at the top, creating the basic structure of the pergola. Follow the instructions provided to attach the beams securely to the posts.
Step 5: Install the Roof Panels
Now it's time to install the roof panels. These panels are what give the pergola its waterproofing capabilities. Begin by attaching the first panel to one end of the pergola, then work your way across, overlapping each panel slightly. Ensure that the panels are securely fastened and that all gaps are sealed to prevent water infiltration.
Step 6: Add the Side Panels (Optional)
If your pergola includes side panels, you can now install them. These panels provide additional protection from the elements and can be attached to the posts or beams using the provided hardware. Ensure that the panels are securely fastened and that any gaps are sealed.
Step 7: Final Inspection
Once the pergola is completely installed, give it a final inspection to ensure that all parts are securely fastened and that there are no gaps or leaks. Check the waterproofing coating on the roof and side panels to ensure it's intact and free from damage.
By following these steps, you can install the Atrium Aluminum Waterproof Pergola with confidence. Its sturdy aluminum construction and waterproof design will provide you with a beautiful and functional outdoor living space that you can enjoy for years to come.