Ensuring Longevity: Recommended Maintenance and Care Procedures for Ultra Thin LED Strips
2024-05-23
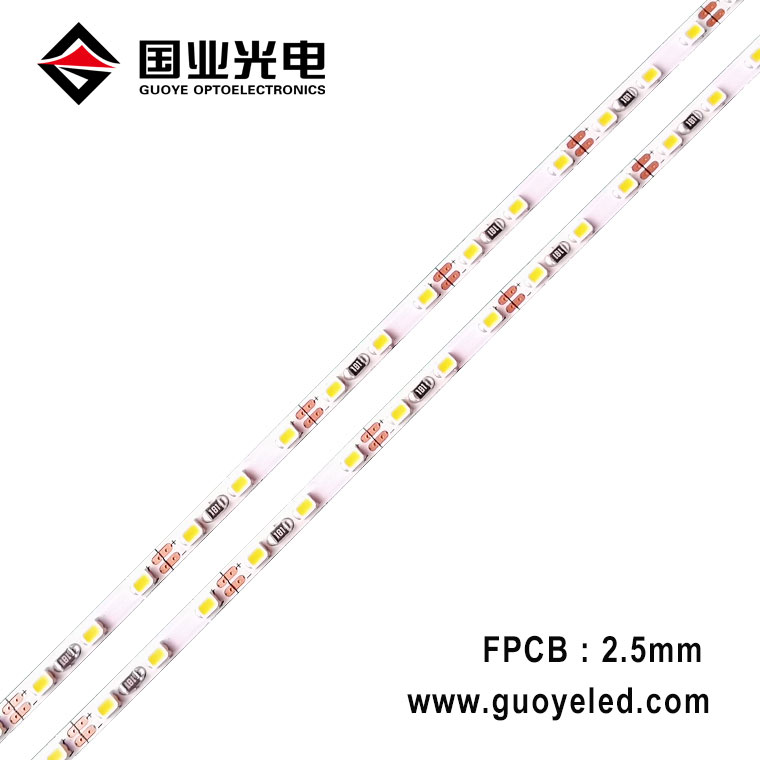
Ultra thin LED strips are a fantastic addition to any lighting setup, providing versatility, energy efficiency, and a sleek aesthetic. To maximize their lifespan and ensure consistent performance, proper maintenance and care are essential. In this blog, we'll outline the recommended procedures to keep your ultra thin LED strips functioning optimally for years to come.
1. Regular Cleaning
Dust and Debris Removal:
- Frequency: Clean your LED strips every few months or as needed, depending on their exposure to dust and dirt.
- Method: Use a soft, dry cloth to gently wipe the surface of the strips. For stubborn dirt, a slightly damp cloth can be used, but ensure the strip is not powered on and avoid excessive moisture.
Avoiding Chemical Cleaners:
- Products to Avoid: Do not use harsh chemicals, abrasive cleaners, or solvents, as these can damage the LED strip's surface and components.
- Safe Alternatives: Mild soap and water on a damp cloth can be used if necessary, but make sure to dry the strips thoroughly before powering them back on.
2. Inspecting Connections and Wiring
Routine Checks:
- Inspection Frequency: Every few months, inspect the connections and wiring of your LED strips to ensure there are no signs of wear, corrosion, or loose connections.
- What to Look For: Check for frayed wires, loose connectors, and any discoloration or damage that could indicate overheating or electrical issues.
Securing Connections:
- Tightening Loose Ends: Ensure all connections are secure. Loose connections can lead to flickering lights or power loss.
- Using Connectors: If your setup involves connectors or adapters, ensure they are firmly in place and compatible with your LED strip model.
3. Managing Heat
Ensuring Adequate Ventilation:
- Heat Dissipation: Proper ventilation is crucial for preventing overheating. Ensure the LED strips are installed in areas where air can circulate freely.
- Avoiding Enclosures: Do not cover the LED strips with materials that could trap heat. If installed in an enclosed space, consider using aluminum channels or heat sinks to aid in heat dissipation.
Monitoring Temperature:
- Ambient Temperature: Ensure the ambient temperature where the LED strips are installed does not exceed the manufacturer’s recommended range.
- Heat Management: For installations in potentially hot environments, consider using additional cooling measures like fans or enhanced ventilation systems.
4. Protecting from Moisture
Indoor Use:
- Dry Areas: For indoor installations, ensure the LED strips are kept away from areas prone to moisture, such as bathrooms and kitchens, unless they are specifically rated for such environments.
- Water-Resistant Strips: Use waterproof or water-resistant LED strips in areas where exposure to moisture is unavoidable.
Outdoor Use:
- Weatherproofing: For outdoor installations, choose LED strips that are rated for outdoor use and have adequate protection against water and dust (IP65 or higher).
- Proper Sealing: Ensure all connections and power supplies are properly sealed to prevent water ingress. Use waterproof connectors and silicone sealants if necessary.
5. Avoiding Overloading
Power Supply Considerations:
- Matching Power Supply: Always use a power supply that matches the voltage and current requirements of your LED strips. Overloading the strips with incorrect power supplies can lead to overheating and failure.
- Power Capacity: Ensure the power supply has sufficient capacity to handle the total wattage of all connected LED strips.
Using Dimmers and Controllers:
- Compatible Devices: If using dimmers or controllers, ensure they are compatible with your LED strips. Incompatible devices can cause flickering or damage the LEDs.
- Quality Products: Invest in high-quality dimmers and controllers to ensure smooth operation and prevent electrical issues.
6. Periodic Testing and Replacements
Regular Testing:
- Functional Tests: Periodically test your LED strips to ensure all sections are working correctly. Look for any dimming, flickering, or sections that have stopped working.
- Early Detection: Early detection of issues can prevent further damage and allow for timely repairs or replacements.
Replacing Faulty Sections:
- Cut and Replace: Ultra thin LED strips can often be cut at designated points, allowing you to replace faulty sections without discarding the entire strip.
- Manufacturer’s Instructions: Follow the manufacturer’s instructions for cutting and replacing sections to ensure proper functionality and safety.
Conclusion
Proper maintenance and care are crucial for ensuring the longevity and optimal performance of ultra thin LED strips. By following these recommended procedures—regular cleaning, inspecting connections, managing heat, protecting from moisture, avoiding overloading, and periodic testing—you can enjoy the benefits of your LED strips for many years. With minimal effort, these versatile lighting solutions can continue to illuminate your spaces beautifully and efficiently.