

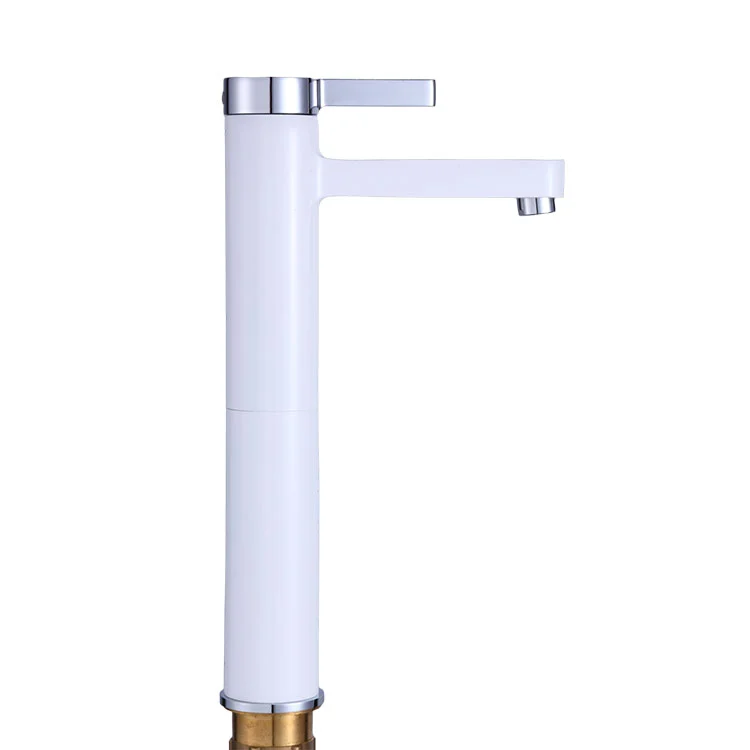
how to install Basin Faucet
2025-04-29
Installing a basin faucet is a manageable DIY task if you're comfortable working with plumbing fixtures. Here's a step-by-step guide for installing a typical deck-mounted basin faucet:
Tools & Materials Needed
Basin faucet kit (includes faucet, washers, nuts, etc.)
Basin wrench or adjustable wrench
Plumber’s tape (Teflon tape)
Bucket or towel (to catch water)
Silicone sealant or plumber’s putty (if recommended)
Step-by-Step Installation
1. Turn Off Water Supply
Shut off the hot and cold water valves under the sink.
Open the existing faucet to relieve pressure.
2. Remove Old Faucet (if applicable)
Disconnect water supply lines using a wrench.
Loosen and remove mounting nuts.
Lift the old faucet out and clean the sink surface.
3. Assemble the New Faucet
Follow the manufacturer’s instructions.
Attach gaskets or apply plumber’s putty/silicone if required at the base.
4. Insert Faucet into Sink Holes
Place the faucet through the designated hole(s) in the basin.
5. Secure Faucet Under the Sink
From below, slide on mounting hardware (rubber or metal washers and nuts).
Tighten securely using a basin wrench.
6. Connect Water Supply Lines
Attach the hot and cold water supply lines to the faucet tailpieces.
Use plumber’s tape on threaded fittings for a tight seal.
Tighten with a wrench but avoid over-tightening.
7. Test for Leaks
Turn water supply back on.
Open the faucet and check for leaks under the sink and around the base.
Tighten or reseal as needed.
8. Optional: Install Pop-Up Drain
If your faucet includes a drain assembly, follow the included instructions to install it.
If you are interested in our products or have any questions, please feel free to contact us and we will reply you within 24 hours.