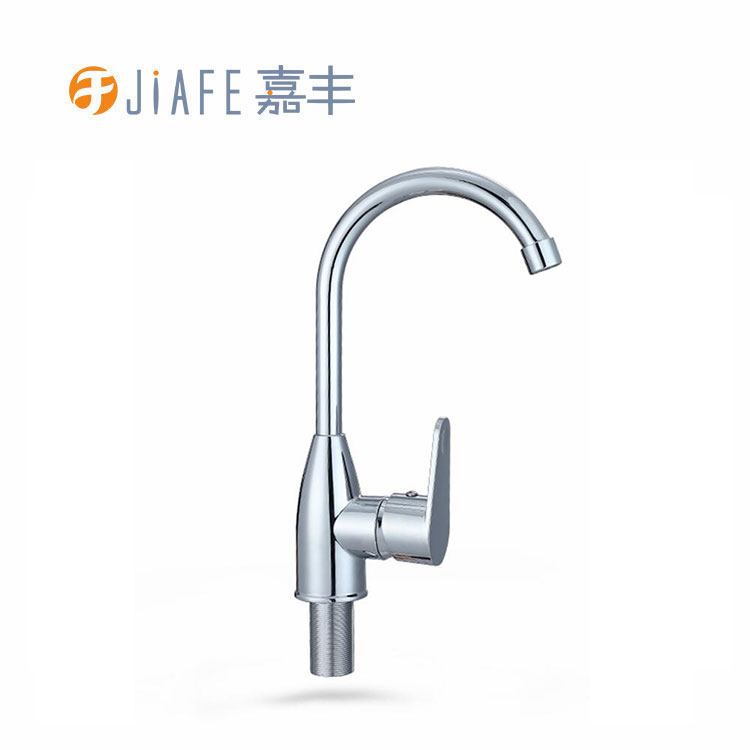
Mastering the Installation Process: A Detailed Guide for Hot Cold Water ABS Kitchen Faucets
2023-11-14
Introduction:
Embarking on a kitchen renovation or upgrade can be an exciting endeavor, and installing a new Hot Cold Water ABS Kitchen Faucet is a crucial part of the process. In this blog post, we'll take you through the installation process step by step, ensuring that you can confidently set up your new faucet for optimal functionality.
Step 1: Gather Your Tools and Materials
Before you begin, make sure you have all the necessary tools and materials on hand. This typically includes an adjustable wrench, plumber's tape, a basin wrench, a bucket or towels for potential water cleanup, and, of course, your new Hot Cold Water ABS Kitchen Faucet.
Step 2: Turn Off Water Supply
Locate the shut-off valves under the sink and turn off both the hot and cold water supply. Once the valves are closed, turn on the faucet to release any remaining water in the lines.
Step 3: Disconnect Existing Faucet
Using the adjustable wrench, disconnect the supply lines from the existing faucet. If there's an old faucet in place, use a basin wrench to remove it. Clear the area under the sink to provide ample space for the installation.
Step 4: Apply Plumber's Tape
Before attaching the new Hot Cold Water ABS Kitchen Faucet, wrap the threads of the water supply lines with plumber's tape. This helps create a watertight seal and prevents leaks.
Step 5: Install the Faucet
Place the new faucet in the mounting holes on the sink deck. From under the sink, secure the faucet in place using the provided mounting hardware. Tighten the nuts with an adjustable wrench.
Step 6: Connect Water Supply Lines
Attach the hot and cold water supply lines to the corresponding valves on the faucet. Use the adjustable wrench to secure the connections, ensuring they are snug but not overtightened to avoid damage.
Step 7: Check for Leaks
Turn on the water supply and check for any leaks around the connections. If you spot any leaks, tighten the connections as needed. Wipe away any excess water with a towel.
Step 8: Test the Faucet
Turn on the faucet and test both hot and cold water functions. Check for smooth operation and proper temperature control. Make any necessary adjustments to ensure optimal performance.
Step 9: Final Checks
Inspect the entire installation for any loose connections or issues. Tighten any loose nuts or bolts, and clean up the area under the sink.
Conclusion:
By following this detailed guide, you can navigate the installation process of your Hot Cold Water ABS Kitchen Faucet with confidence. A well-installed faucet not only enhances the functionality of your kitchen but also adds a stylish and efficient touch to the heart of your home.


