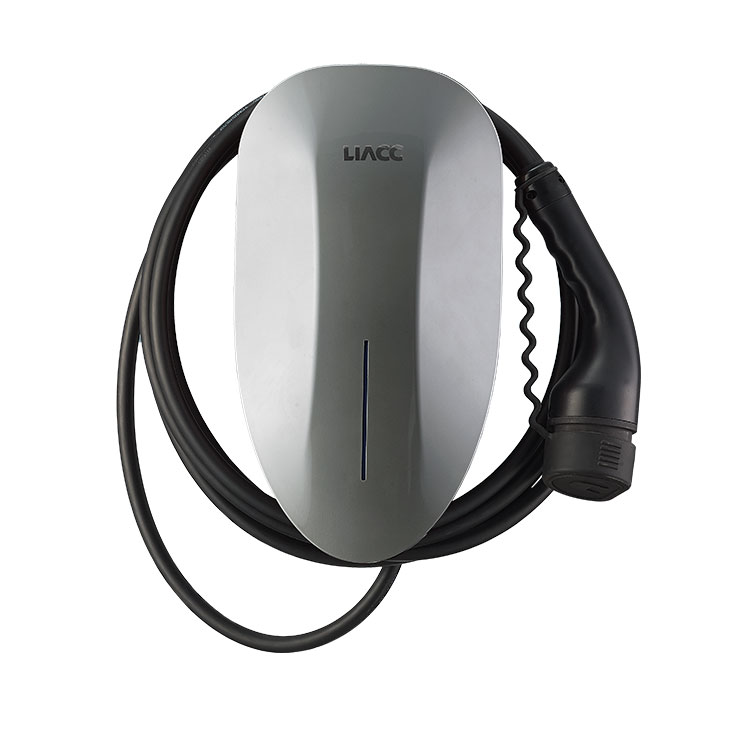
Powering Tomorrow: A Comprehensive Guide to Installing Tethered Wallbox for Electric Vehicle Charging
2024-01-23
Introduction:
The transition to electric vehicles (EVs) is accompanied by the need for efficient and reliable charging solutions. The Tethered Wallbox emerges as a cutting-edge charging infrastructure, offering a streamlined installation process. In this blog, we explore how the Tethered Wallbox is installed and delve into the electrical requirements that ensure optimal performance and safety.
1. Location Assessment:
The installation process begins with a thorough assessment of the installation location. Tethered Wallbox installations are commonly placed in residential garages, parking lots, or commercial facilities. The chosen location should provide easy access for the electric vehicle and comply with safety regulations.
2. Electrical Inspection:
Prior to installation, a professional electrician conducts an electrical inspection to evaluate the existing infrastructure. This includes assessing the electrical panel's capacity, circuit breakers, and wiring to ensure compatibility with the Tethered Wallbox and the anticipated load.
3. Selecting the Wallbox Model:
Tethered Wallbox models may vary in terms of power output and features. During the installation planning phase, the appropriate Tethered Wallbox model is selected based on the user's charging needs, electric vehicle specifications, and the electrical capacity of the installation site.
4. Understanding Power Requirements:
Tethered Wallbox installations require a dedicated circuit with specific power requirements. The electrician calculates the power capacity needed based on the selected Tethered Wallbox model and ensures that the existing electrical infrastructure can support the additional load.
5. Installing the Mounting Bracket:
A mounting bracket is typically used to secure the Tethered Wallbox to the installation site. This step involves attaching the bracket securely to the wall or a suitable structure, ensuring stability and alignment for the subsequent installation steps.
6. Connecting to the Electrical Panel:
The Tethered Wallbox is then connected to the electrical panel using the dedicated circuit. The electrician installs the necessary conduit and wiring to establish a direct and secure connection between the Tethered Wallbox and the electrical supply, ensuring efficient power delivery.
7. Grounding and Safety Measures:
Grounding is a critical aspect of the installation process. The electrician ensures that the Tethered Wallbox is properly grounded to mitigate electrical hazards. Additionally, safety measures, such as installing circuit protection devices, are implemented to enhance the safety of the charging infrastructure.
8. Mounting the Tethered Wallbox:
Once the electrical connections are established, the Tethered Wallbox is mounted onto the previously installed bracket. This step ensures that the charging station is securely affixed to the wall, providing a stable and durable installation.
9. Configuration and Testing:
After physical installation, the Tethered Wallbox is configured to match the user's preferences and requirements. The electrician tests the entire system to ensure that all components are functioning correctly, and the charging station is ready for use.
10. User Interface Setup:
If the Tethered Wallbox features a user interface or smart capabilities, the electrician assists in setting up user preferences, access controls, and any additional features, such as scheduling or remote monitoring through mobile apps.
Conclusion:
The installation of a Tethered Wallbox is a meticulously planned and executed process, requiring professional expertise to ensure safety, efficiency, and compliance with electrical standards. As electric vehicles become an integral part of our transportation landscape, the Tethered Wallbox stands ready to power the future, providing a reliable and convenient charging solution for EV owners.


